
Ceiling Water Leak Repair: Who to Call and What to Do First
Home »
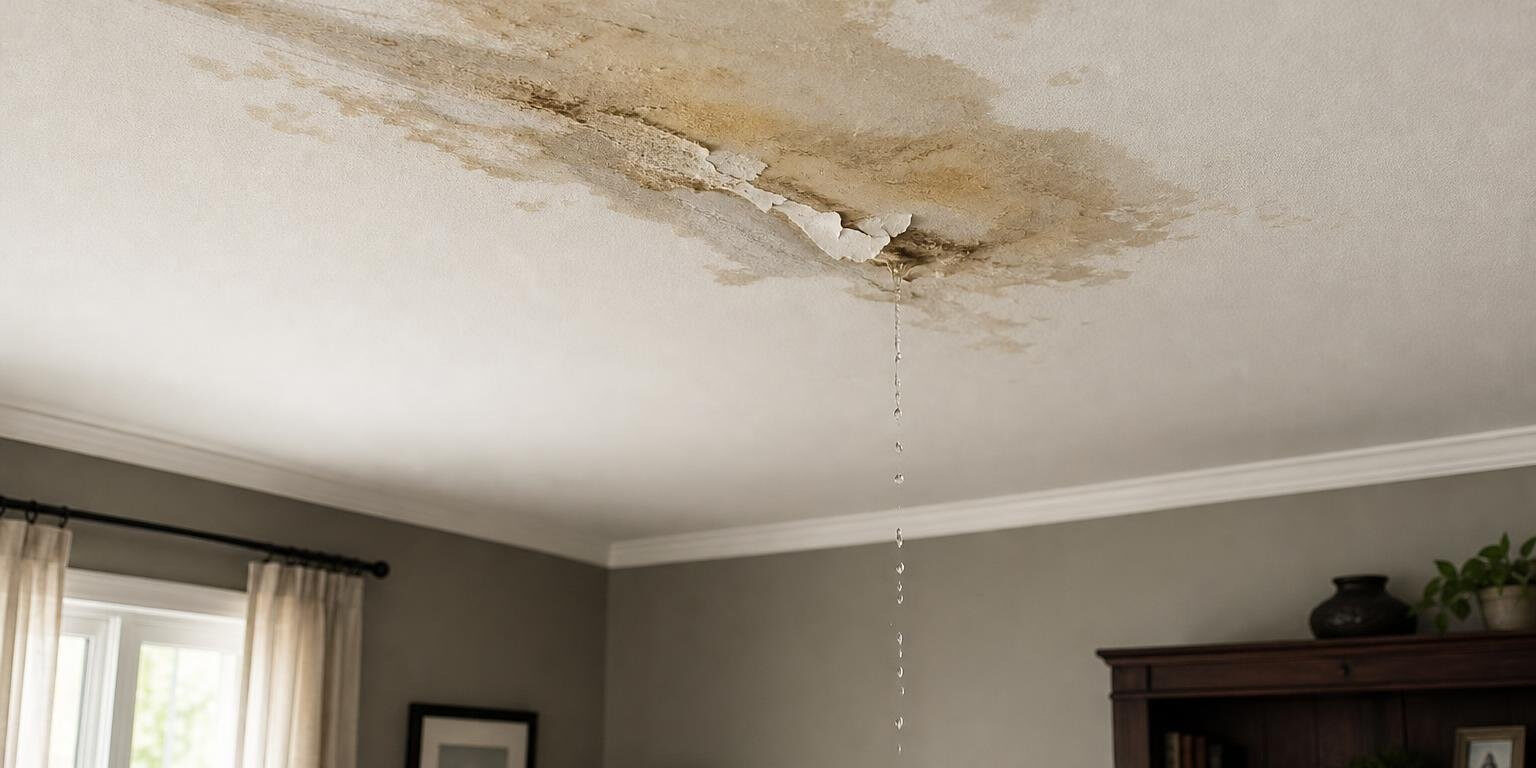
What to Do When You Have a Ceiling Water Leak
Ceiling water leak repair is urgent, and every hour you wait increases the risk of mold, structural damage, and a costly repair bill.
Here is what to do right now:
- Move furniture and electronics away from the drip zone immediately.
- Place a bucket under any active drips to contain the water.
- Turn off electricity at the breaker panel if water is near any light fixtures or wiring.
- Shut off the main water supply if you suspect a plumbing leak above the ceiling.
- Photograph and video the damage before touching anything, for insurance purposes.
- Call a plumber if the leak is coming from a pipe, toilet, or bathroom above. Call a roofer if it followed heavy rain.
That drip from your ceiling is rarely just a drip.
A brownish ring on your living room ceiling. A soft, spongy patch of drywall. Water trickling through a light fixture during a storm. These are not cosmetic problems you can paint over and forget.
A ceiling leak is almost always a symptom of something bigger happening behind your walls or above your ceiling: a failing pipe joint, a cracked wax ring on an upstairs toilet, a damaged roof flashing, or an HVAC condensation line that is quietly overflowing.
What makes ceiling leaks especially tricky is that water does not travel straight down. It migrates sideways along joists, pipes, and wires before finally dripping through your ceiling, sometimes 15 feet or more from the actual source. That small 2-foot stain you can see may be masking a much larger moisture problem hiding inside your insulation.
And the clock starts ticking fast. Mold can begin growing on wet drywall and framing within 24 to 48 hours under warm, humid conditions, which is exactly what Columbia, SC summers provide.
This guide walks you through every step: how to respond safely, how to find the source, who to call, and what the repair process looks like from start to finish.

Immediate Steps to Take When You Spot a Ceiling Leak
When water starts coming through your plaster or drywall, your home is under active threat. The first hour of discovery is often called the golden window for minimizing damage. Your priority must be protecting your family, securing your belongings, and stopping the water flow.
If water is actively pooling, dripping, or gushing from above, you need to think about electrical safety first. Water is an excellent conductor of electricity, and if it travels into light fixtures, ceiling fans, or junction boxes, it creates an immediate shock and fire hazard. Head straight to your main electrical panel and shut off the breakers for the affected rooms before you do anything else.
Once the electrical threat is neutralized, focus on water containment. Place buckets, plastic bins, or heavy towels directly under the drip. If you suspect the water is coming from your household pipes, such as an upstairs bathroom or a water line in the attic, locate your main water shut-off valve and turn it off completely. Knowing when a water leak is an emergency can help you decide when prompt professional help is needed.
If water continues after you shut off the supply or you cannot isolate the source, emergency plumbing services in Columbia, SC can help identify and repair the plumbing issue before the ceiling damage worsens.
How to Safely Drain a Bulging Ceiling
If you notice a section of your ceiling is bowing downward like a heavy, water-filled balloon, do not ignore it. This bulge indicates that water is pooling on top of the drywall, held back only by the thin paper backing of the sheetrock.
Drywall is surprisingly heavy when dry, with a standard half-inch sheet weighing about 52 pounds. However, when drywall becomes fully saturated, it acts like a giant sponge and can absorb enough water to weigh over 200 pounds. This massive weight puts extreme stress on the drywall screws, causing them to tear through the softened plaster core. If left alone, the entire ceiling section can collapse without warning, dumping hundreds of pounds of soggy insulation, drywall, and dirty water onto your floor.
To prevent a catastrophic collapse, you can perform a controlled pressure relief drainage:
- Place a large bucket directly beneath the center of the bulge.
- Take a long screwdriver, a drill with a small bit, or a utility nail.
- Stand to the side of the bulge (never stand directly underneath it).
- Gently puncture a small hole right in the center of the sagging area.
- Let the trapped water drain smoothly into the bucket.
This simple step relieves the immense water weight, stabilizes the drywall sheet, and prevents a sudden, dangerous ceiling failure.
Identifying the Source of Your Ceiling Water Leak
Finding where the water is coming from is often the hardest part of ceiling water leak repair. Because water is lazy, it takes the path of least resistance. It might leak from a pipe, drip onto a sloped wooden joist, run ten feet horizontally, pool on top of an electrical wire, and then drip through your ceiling.
This is why looking for signs of a hidden water leak is so important. If you notice a sudden, unexplained spike in your utility bills, you might be dealing with a high water bill with no visible leak, which often points to a slow, hidden plumbing leak dripping inside your ceiling joists or wall cavities.
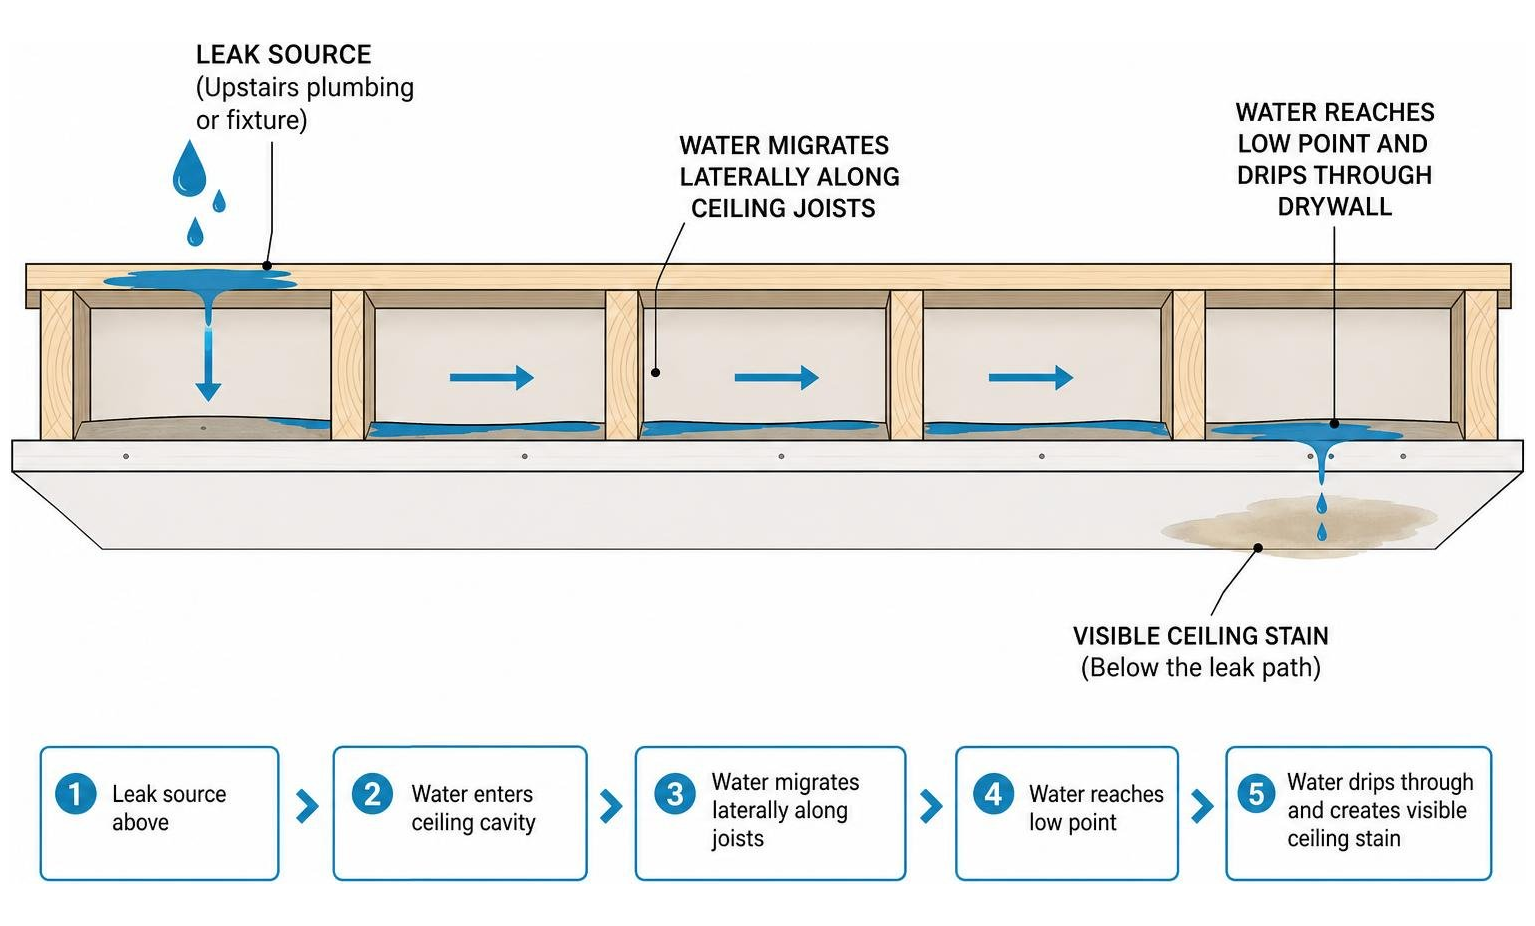
Plumbing Leaks vs. Roof Leaks
To start your investigation, you must first determine if the water is coming from your plumbing system or your roof.
In multi-story homes, a leak on a lower floor ceiling almost always points to a plumbing issue in the room directly above, such as a leaking toilet wax ring, a compromised bathtub drain, or a loose sink P-trap. If the leak is on your top floor, directly below the attic, it could be either a roof leak or an attic-based plumbing or HVAC issue.
One of the easiest ways to tell the difference is by analyzing rain patterns and water behavior. If the ceiling only drips during or immediately after a heavy South Carolina rainstorm, you are likely dealing with a roof leak, damaged shingles, or compromised roof flashing. If the drip is constant and does not change regardless of the weather outside, it is almost certainly an active plumbing leak.
Additionally, during hot Columbia, SC summers, your air conditioning system works overtime. A residential AC unit can produce 5 to 20 gallons of condensation per day. If the drain line becomes clogged, that water will back up and overflow directly onto your ceiling.
Professional Methods for Ceiling Water Leak Repair Detection
When water is migrating invisibly behind your walls, guessing where to cut open your ceiling is a recipe for unnecessary mess and expense. Professional plumbers use advanced, non-invasive technology to pinpoint the exact source of the moisture without tearing your home apart.
Thermal imaging cameras are highly effective for this task. Because wet drywall and insulation are colder than dry building materials, infrared cameras can map the hidden pathway of the water, showing exactly where the moisture plume begins.
Plumbers also use penetrating and non-penetrating moisture meters to assess moisture in building materials. A qualified technician can use the readings alongside the leak pattern and other diagnostic findings to determine whether materials need drying, removal, or further evaluation. Using professional leak detection services helps identify the root cause accurately and can reduce the risk of repeat repairs.
Who to Call: Plumber, Roofer, or Handyman?
A complete ceiling water leak repair is a multi-step process that requires different areas of expertise. Homeowners are often confused about who to contact first.
To save money and time, think of the repair process as having two distinct phases: fixing the water source, and repairing the cosmetic damage. You should never hire a handyman to patch and paint a ceiling until a licensed professional has completely resolved the underlying leak. If you skip this step, the stain will return, the new drywall will fail, and you will have to pay for the entire cosmetic repair all over again.
For a clearer picture of how professionals locate hidden water problems, this overview of leak detection in Columbia, SC explains the diagnostic process and common warning signs.
When to Call a Plumber for Ceiling Water Leak Repair
You should make a professional plumber your very first call if you suspect the water is coming from inside your home. Plumbers are the only professionals licensed to diagnose, repair, and replace water supply lines, drain pipes, and bathroom fixtures.
Common plumbing issues that cause ceiling damage include:
- Failed Toilet Wax Rings: When the wax seal beneath your toilet degrades, water leaks out every time the toilet is flushed, slowly saturating the floorboards and ceiling below.
- Leaking Shower Pans: Microscopic cracks in tile grout or a damaged shower pan liner can cause water to seep into the subfloor during every shower.
- Corroded Copper or Split PEX Pipes: Slow drips from pipe joints can go unnoticed for months until the ceiling drywall finally fails.
In some cases, plumbing leaks are caused by high water pressure stressing your pipe joints. If your home’s water pressure is set too high, it can lead to sudden pipe failures. Addressing excessive water pressure issues is a key preventive measure to protect your plumbing system from future damage.
When to Call a Roofer or Handyman
If your ceiling leak only occurs during heavy rainstorms, your first call should be to a licensed roofer. Roofers specialize in finding and repairing shingle damage, compromised flashing around chimneys or vents, and gutter backups that force water under your roofline.
Once the leak source is completely fixed and the ceiling cavity is dry, you can hire a professional handyman or drywall contractor to handle the restoration phase. This cosmetic phase involves cutting away the water-damaged sheetrock, replacing wet insulation, hanging new drywall, taping, mudding, texture matching, and painting. Request a professional estimate based on the extent of the damage and the work required.
The Process of Ceiling Water Leak Repair and Restoration
Once the active leak is stopped, the actual restoration of your ceiling can begin. This is not a process that should be rushed.
The most critical and time-consuming part of the repair is the drying phase. Before any new drywall is installed, the entire ceiling cavity, including the wooden joists and subflooring above, must be thoroughly dried. If you trap moisture behind new drywall, you are creating a perfect, dark incubator for mold growth.
Restoration professionals use high-velocity air movers and industrial dehumidifiers to dry the space, keeping the indoor relative humidity below 60% to limit mold growth. Monitor the area for lingering dampness, musty odors, or new staining before closing the ceiling cavity.
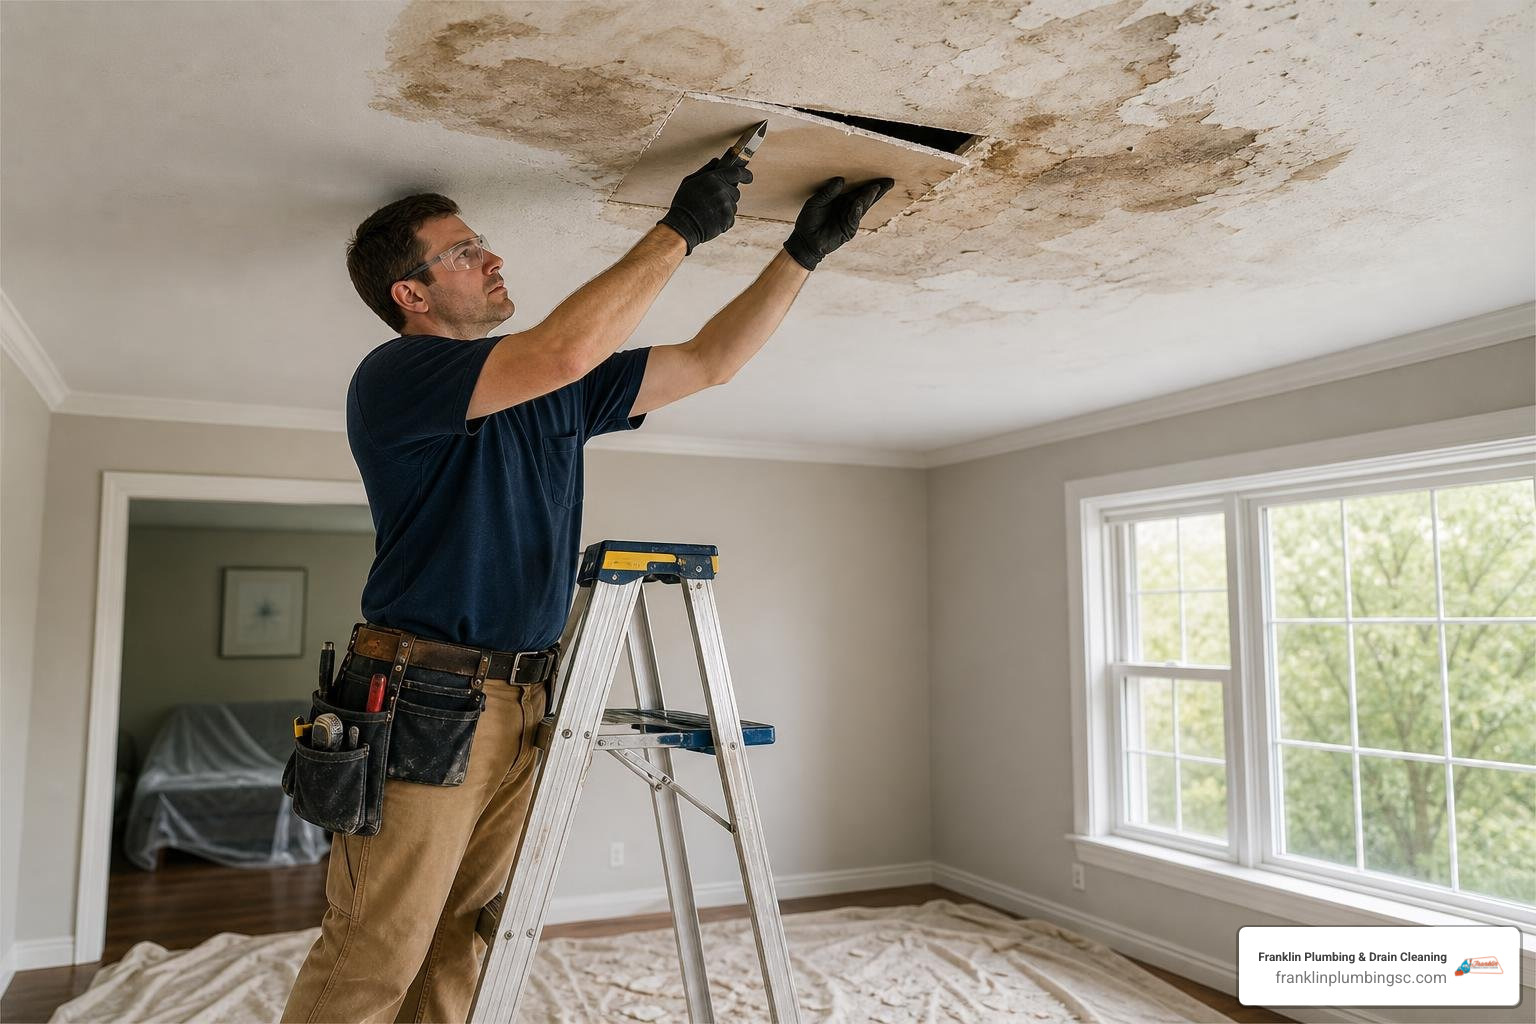
How to Paint Over a Ceiling Water Stain
If you are lucky enough to have a minor leak that did not compromise the structural integrity of your drywall, you might only have to deal with an unsightly brown stain. However, simply brushing standard latex ceiling paint over a water stain is a waste of time.
Water stains are composed of water-soluble minerals, rust, and tannins. When you apply water-based latex paint, these minerals dissolve into the wet paint and bleed right through to the surface as it dries, reappearing like a ghost.
To paint over a ceiling water stain successfully, follow these steps:
- Ensure Dryness: Verify the area is completely dry using a moisture meter.
- Clean the Surface: Wipe away any surface dust, soot, or debris.
- Apply a Stain-Blocking Primer: Apply a high-quality, oil-based primer or a shellac-based primer. These primers create a solid, non-porous barrier that prevents water-soluble minerals from bleeding through.
- Match the Texture: If your ceiling has a popcorn or knockdown texture, use a matching spray texture to blend the repair area with the surrounding ceiling.
- Repaint the Ceiling: Once the primer is completely dry, apply your topcoat of flat latex ceiling paint. For the best results, paint the entire ceiling plane to avoid patchy spots.
Frequently Asked Questions
1. How much does ceiling water leak repair typically cost?
The cost of repairing a water-damaged ceiling depends on the size of the damaged area, the accessibility of the leak, and whether structural joists or insulation need replacement. Minor repairs involving patching and painting a small area of drywall are generally affordable. Moderate repairs requiring drywall section replacement in a single room will cost more, while severe structural damage involving joist repair and mold remediation can become quite expensive. Homeowners should request a professional estimate for accurate pricing tailored to their specific situation.
2. Does homeowners insurance cover ceiling water damage?
Standard homeowners insurance policies typically cover water damage if it is caused by a sudden, accidental event, such as a burst pipe or a tree falling on your roof during a storm. However, insurance companies generally exclude coverage for damage caused by gradual neglect, lack of routine maintenance, or long-term unresolved leaks, such as a toilet wax ring that has been slowly dripping for a year.
3. How long does it take for mold to grow after a ceiling leak?
Under warm, humid conditions, mold spores can germinate and begin colonizing wet drywall, wood framing, and ceiling insulation within 24 to 48 hours of water exposure. This is why immediate water extraction and professional drying are absolutely critical to preventing a widespread mold issue in your home.
4. Is a water stain on the ceiling always a sign of structural damage?
No. A small, dry, yellowish-brown ring that is firm to the touch is often cosmetic, indicating a minor leak that has already stopped or dried out. However, if the drywall is soft, sagging, crumbling, or registering a moisture level above 1% on a moisture meter, the damage is structural and the affected drywall must be replaced.
5. Can I repair a water-damaged ceiling myself?
Minor cosmetic repairs, such as sealing a small, dry water stain with an oil-based primer and repainting, are highly manageable DIY projects. However, if the ceiling is sagging, if the water damage covers an area larger than 10 square feet, if there is active mold growth, or if water has affected electrical wiring, you should always hire a licensed professional for your safety.
6. What are the safety risks of a water-damaged ceiling?
The two primary safety risks are ceiling collapse and electrical hazards. Saturated drywall can gain enough water weight to pull away from its holding screws and collapse without warning. Additionally, water traveling through ceiling light fixtures or fans can cause electrical shorts, shock hazards, and house fires.
7. Why does regular paint fail to cover water stains?
Regular latex paint is water-based. When applied over a water stain, the water in the paint dissolves the mineral salts and tannins in the stain, causing them to bleed through the paint layer as it dries. You must use a specialized oil-based or shellac-based stain-blocking primer to seal the stain first.
8. How do I know if the insulation above my ceiling is wet?
If your ceiling feels damp or spongy to the touch, if you smell a persistent musty odor, or if water stains continue to spread even after the leak is stopped, the insulation above is likely saturated. Wet fiberglass insulation permanently loses its R-value, clumps together, and becomes a primary breeding ground for mold, meaning it must be discarded and replaced.
9. How do you fix a sagging or bulging ceiling caused by water?
A sagging ceiling should be addressed immediately. First, relieve the water weight by carefully puncturing a small hole in the center of the bulge to drain the trapped water into a bucket. Once the water is drained and the area is dry, the damaged, softened drywall section must be cut out back to the solid wood joists and replaced with fresh drywall.
10. Who should I call first for a ceiling leak in Columbia, SC?
If you suspect a plumbing leak is causing your ceiling damage, your first call should always be to a licensed local plumber. A professional plumbing team can perform advanced leak detection, pinpoint the water source, and repair the pipe or fixture immediately, preventing further structural damage to your home.
Conclusion
A ceiling water leak is a stressful event, but reacting quickly and calling the right professionals can save your home from severe structural damage and mold. Always prioritize safety by turning off the electricity and water supply if necessary, draining any active bulges to prevent a sudden collapse, and ensuring the root cause of the leak is completely resolved before making cosmetic repairs.
When a ceiling leak calls for professional help, the team at Franklin Plumbing & Drain Cleaning is ready to diagnose the source and help protect your home. Contact our professional leak detection technicians to get started.

professional
drain cleaning

highly
recommended

through
repairs

quality
work